Affiliate links on Android Authority may earn us a commission.Learn more.
Displaying large amounts of data with GridView and CardView
June 15, 2025
Displaying large amounts of data in an Android app can be a tricky balancing act. Even on devices with larger screens (such as a laptop or computer) being confronted with a solid wall of data isn’t particularly appealing! This is even more true on Android devices, as the smaller screen of a tablet or smartphone tends to make blocks of content appear even larger.
If your app needs to display a considerable amount of data, then presentation iseverything. Android provides several UI components that can help you bring instant structure and design to even the largest data sets, so you can deliver data-packed screens that users won’t mind scrolling through.

In this article, I’m going to show you how to use two data-focused UI components in your projects: CardViews and GridViews.
Working with CardViews
As the name suggests, CardView gives you an easy way of displaying data in Google Now-style cards. Each CardView can contain multiple child views and multiple content types, for example you’re able to place TextViews and ImageViews inside the same CardView.
To ensure CardView fits with Android’s Material Design makeover, each CardView component has its own elevation and shadow. The elevation is the card’s position on the ‘Z’ axis, and the Android system dynamically generates a shadow based on this elevation.

When generating shadows, Android also takes into account factors such as the view’s position in relation to the “virtual lights” that illuminate the Material Design environment, but even if your app winds up on a pre-Material Design device (i.e anything running KitKat or earlier) then the system will fall back on an emulated shadow implementation, so your CardViews willstillhave that shadow effect.
You can use the card_view:cardElevation attribute to define your card’s elevation and shadow in one fell swoop.

Creating a CardView
The Android SDK doesn’t include the CardView class, so you’ll need to add the CardView support library before you can use cards in your project.
Open your project’s module-level build.gradle file, and add the following:
A CardView is a ViewGroup, so the next step is opening your project’s XML layout resource file and declaring a CardView, in exactly the same way you’d declare any other UI component:
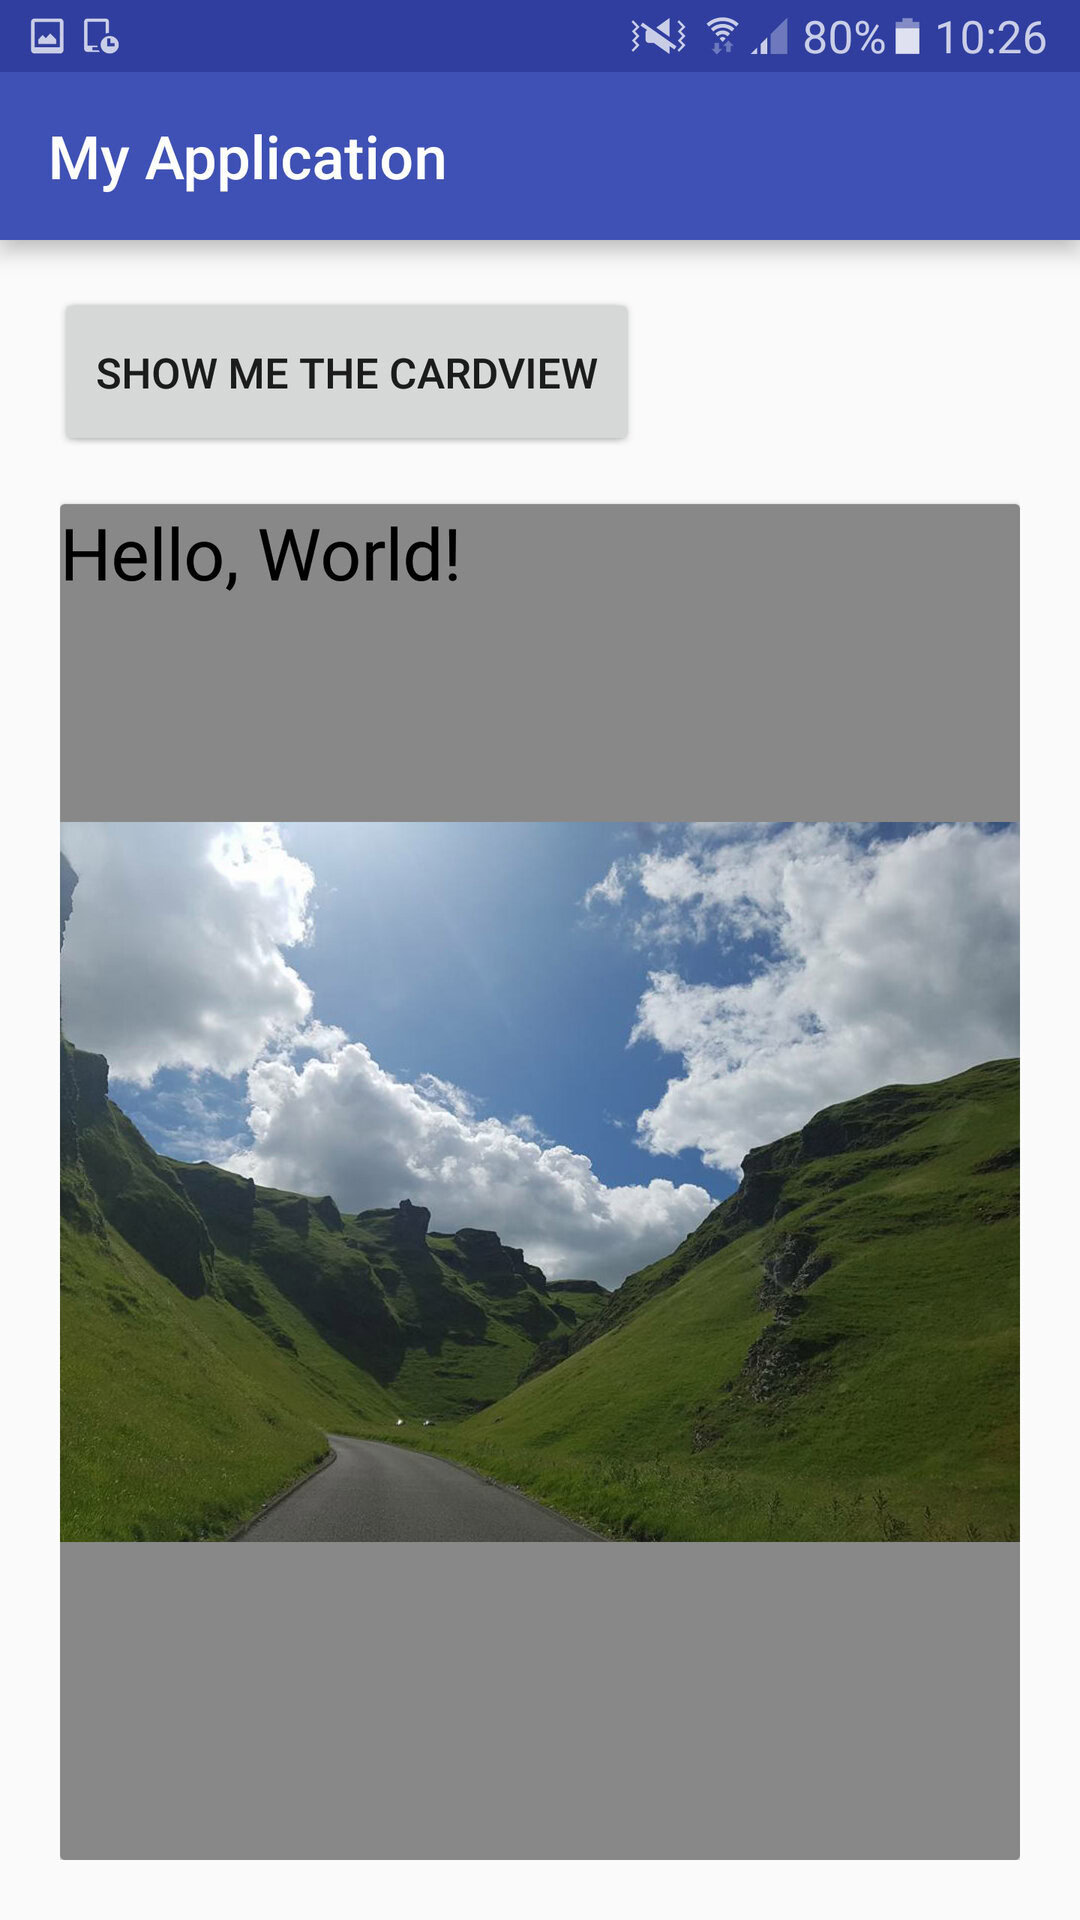
Run this project on your Android device, and you’ll see the following output:
Creating CardViews programmatically
Creating a CardView declaratively is far easier than delving into your Java code, however there are instances where you might need to define at least some of your UI elements programmatically. The major advantage of this approach, is that it allows you to create dynamic user interfaces that change based on user interaction, such as cards that can appear, disappear, or display different information in response to user activity.
In this section, I’m going to show you how you might use dynamic CardViews, by creating a simple app that displays a card when the user taps a button.
The first step is adding the CardView support library to your project’s module-level build.gradle file:
It’s always a good idea to define as much of your UI via XML as possible, as this separation helps to keep your application code more human-readable and easier to maintain. For this reason, I’m going to create the ‘default’ version of my UI in my project’s layout resource file:
The next task is modifying our MainActivity.java file to generate a CardView (complete with content) in response to the user tapping the button.
Install the finished project on your Android device or AVD. Give the button a click and the CardView should appear, complete with the content you specified.
Working with GridViews
A GridView is a view that displays items in a two-dimensional, scrollable grid of rows and columns. GridViews are particularly useful for displaying images in a structured fashion, for example if you’re designing a gallery app.
To populate a GridView with data (whether that’s images, text, or a combination of the two) you’ll need to bind your data to the GridView using a ListAdapter. In the following example, I’m going to use a ListAdapter to retrieve data and create a view for each data entry.
The first step is adding the GridView UI component to your project’s XML layout file:
Depending on the style of GridView you have in mind, you may also want to use the android:stretchMode attribute to define how your GridView’s columns should stretch to fill any available space. Choose from the following values:
You can also define the padding that should be added to your GridView, using the ‘setPadding’ attribute.
Once you’ve created and styled your GridView UI component, the next step is to modify your project’s MainActivity.java file:
The last thing we need to do, is create the custom adapter and attach it to the GridView:
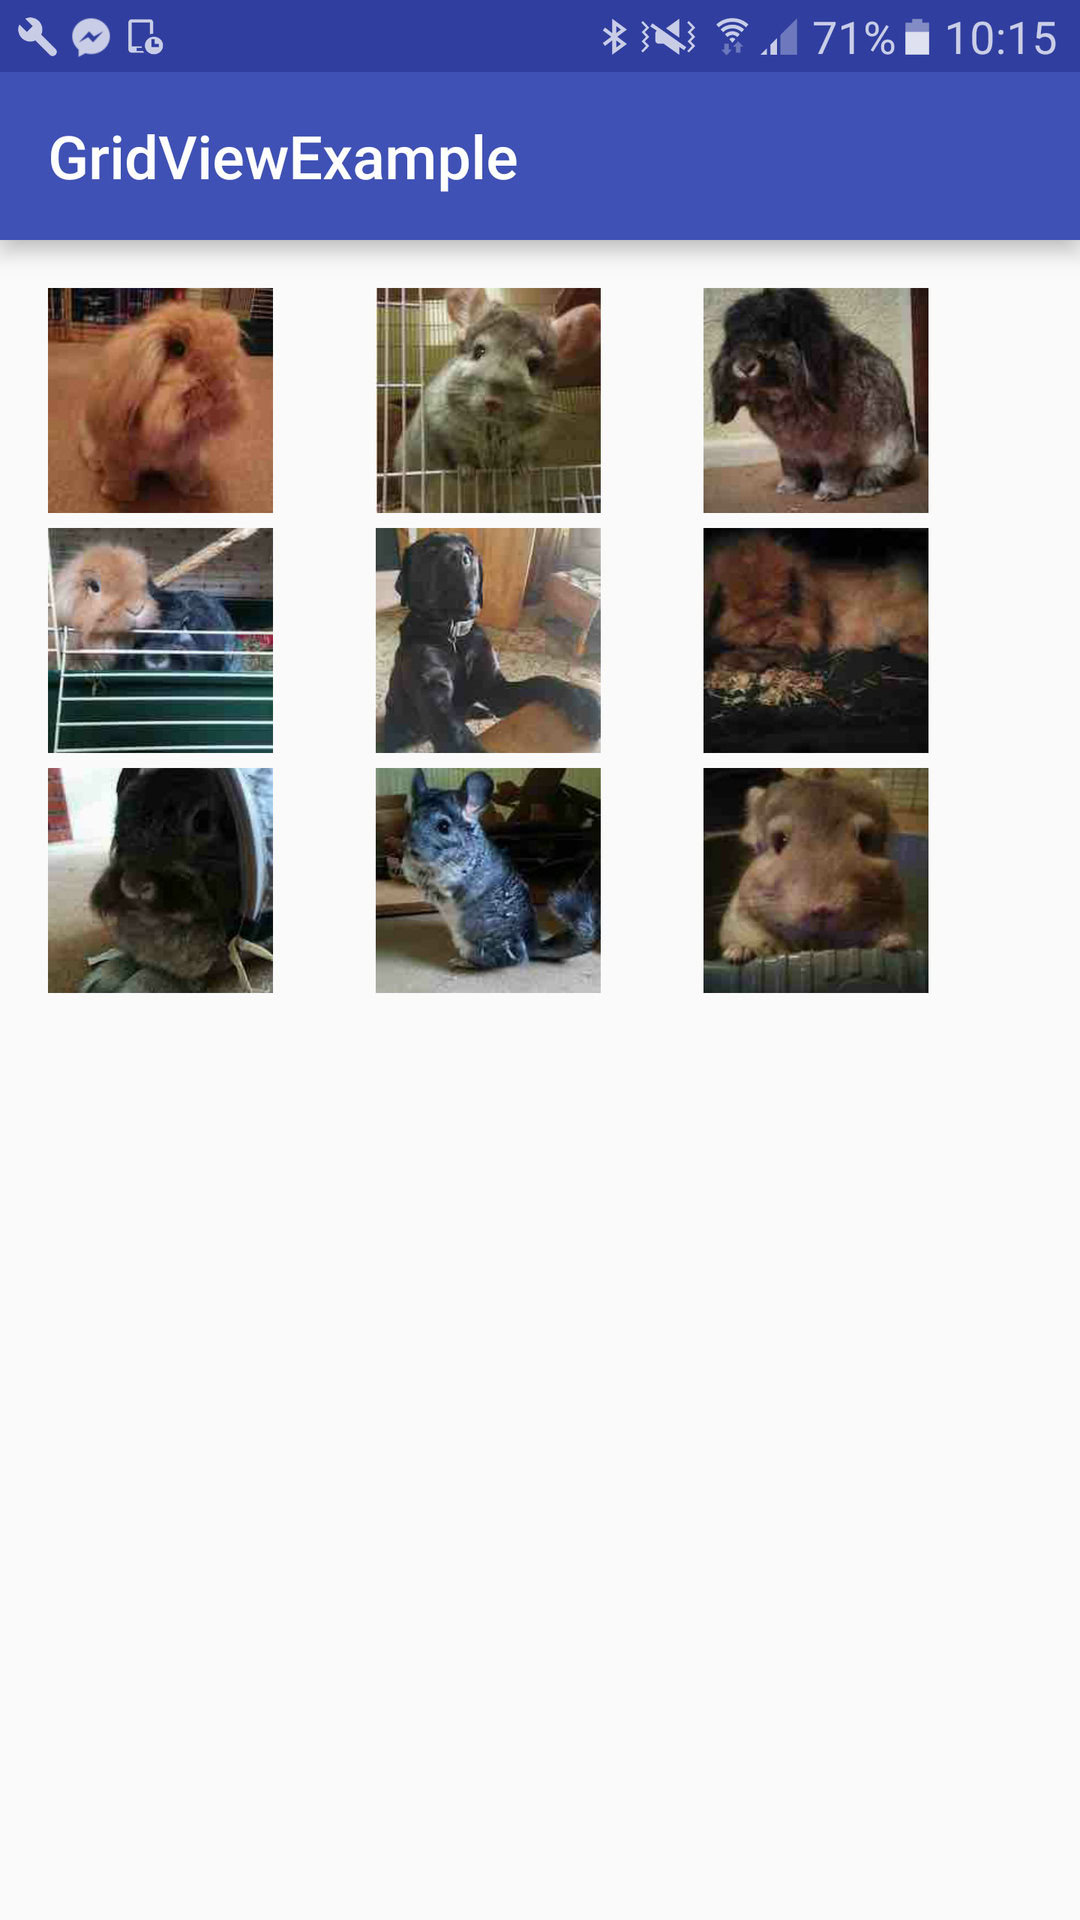
At this point you can run the application and check out the GridView in action.
Data Binding
Gridviews and CardViews are just two examples of many Android UI components that are designed to display data. Despite data being such an important part of many Android apps, until recently data binding required a considerable amount of code.
Typically, developers had to inflate their layout, use findViewbyID to locate the element that was going to use the data, assign it a local variable, retrieve a value from the data, and then assign this value to the UI element. This is already a significant amount of code, but if the layout featured multiple elements that needed to use data (such as multiple CardViews) then this could cause the data binding code toreallyspiral out of control.
An improvement to Android’s data binding was long overdue, and that’s exactly what we got at Google I/O 2015, when Google announced the Data Binding support library.
This library helps you bind data to a UI element without having to write so much “glue” code. Eliminating findViewById lookups in particular means faster code, as the view hierarchy is only traversed once, rather than every time findViewById is called.
To configure your app to use data binding, open your project’s module-level build.gradle file and add the dataBinding element:
If you want to use data binding in a layout resource file, you need to configure this file slightly differently. Instead of declaring the target root View, you need to use ‘layout’ as your root tag, followed by a ‘data’ element, for example:
Next, I’m going to use this data binding to set the value of a TextView inside a CardView:
The data objects that can be used for data binding don’t need to be a special type, so in this example the “Contact” target object could simply be a POJO.
The Gradle plugin auto generates a binding class from your layout file and assigns it the name of your layout resource file, with the addition of the “Binding” suffix. So, if our layout file was main_activity.xml, Gradle would generate a MainActivityBinding class. To associate this auto generated binding class with your code, you’re able to either use:
Data binding is a huge topic that’s well worth exploring in more detail, particularly if you’re planning on displaying large amounts of data, or your layouts include multiple elements that need to use data in some way. For a more detailed look at the Data Binding library, take a look at ourData Binding in Androidarticle.
Wrapping up
In this article we looked at two ways of displaying large amounts of data in a structured, accessible way, by adding cards and grids to your layouts. We also looked at how to use a simple custom Adapter and the Data Binding library to supply your UI with data.
Do you have anymore tips for the best ways of displaying large amounts of data in your Android apps? Share them in the comments below!
Thank you for being part of our community. Read ourComment Policybefore posting.
